Keeping files safe is more important than ever. Whether you are creating business reports, personal notes, contracts, or financial records, there’s always a risk that someone might access them without your permission. Learning how to password protect a Word document is one of the simplest ways to keep your private information safe.
The best part? It’s simple and needs no tech skills. This guide will walk you through every step for both Windows and Mac, so you can secure your files in less than a minute.
For more details, explore my previous blog on this topic : Change Mac password
Step 1: Open Your Document
The first step in how to password protect a Word document is simply opening the file you want to protect.
- On your computer, launch Microsoft Word.
- Open the document you want to lock.
- Click File in the top-left corner of the screen.
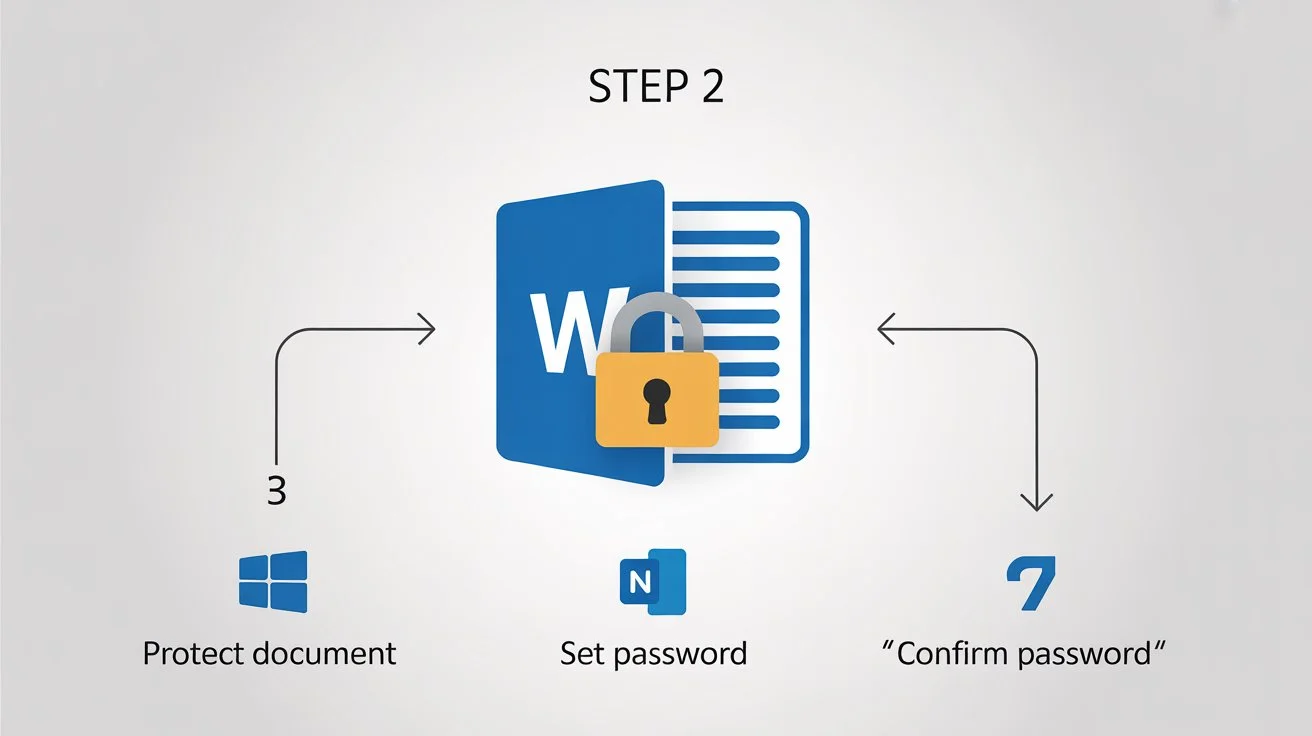
Step 2: Access the “Protect Document” Option

Once your file is open, go to security settings to learn how to password protect a Word document.
For Windows Users:
- Go to File > Info > Protect Document.
- Choose Encrypt with Password.
For Mac Users:
- Go to File > Set Password.
- Click Password… to continue.
Step 3: Set a Strong Password

A pop-up window will appear asking you to type a password. This is where you create the lock for your document.
Tips for a strong password:
- Use at least 12 characters.
- Combine uppercase letters, lowercase letters, numbers, and symbols. Example: Sunset@Glow #42!
- Avoid common passwords like “password123” or your name.
Once you type your password, click OK.
Important: If you forget your password, Microsoft cannot recover it. Always store it in a safe place.
Step 4: Confirm Your Password
The fourth step in how to password protect a Word document is confirming that you typed the password correctly.
- Re-enter the exact same password.
- Click OK again.
This ensures there are no typing mistakes.
Step 5: Save Your Document
Your document will only be secure after you save it.
- Press Ctrl + S (Windows) or Command + S (Mac).
- Close the file and reopen it to check that the password prompt appears.
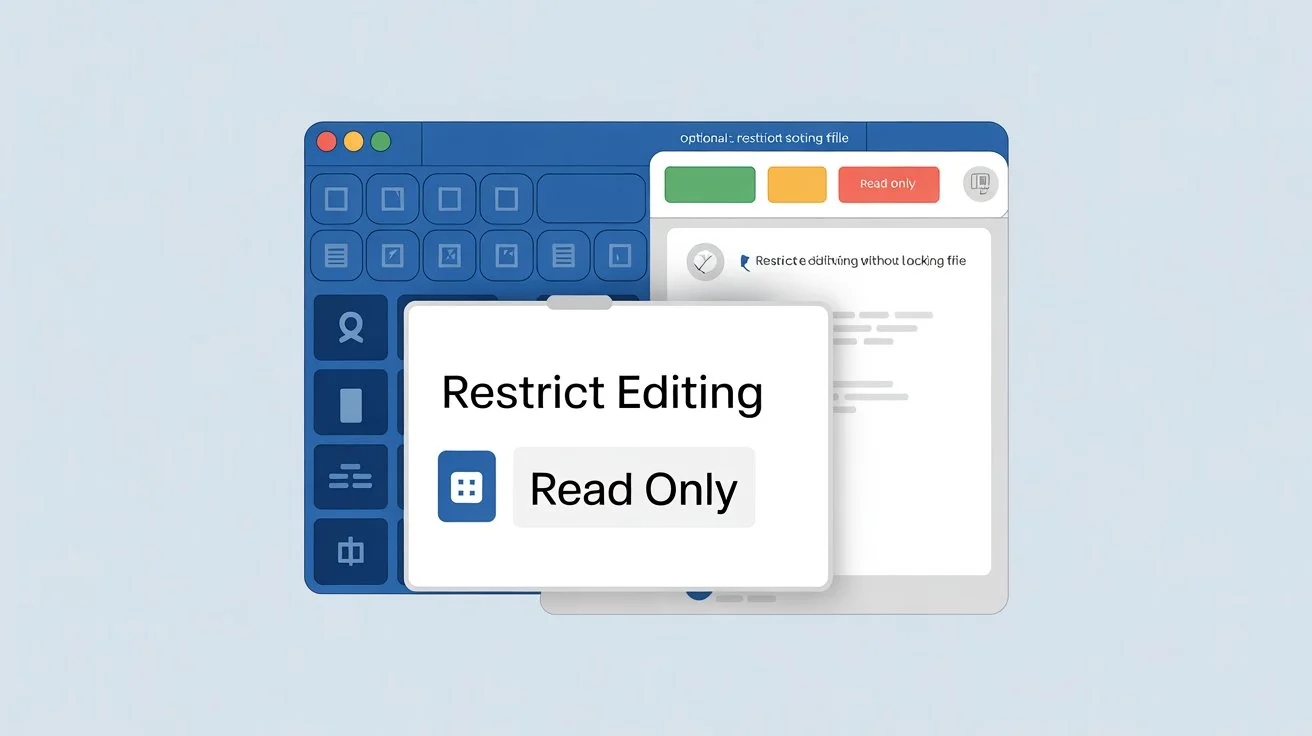
Optional: Restrict Editing Without Locking the File

Sometimes you may want people to view your file but not make changes. You can do this without blocking access completely.
For Windows:
- Go to File, then Info, Protect Document, and Restrict Editing.
- Check: Allow only this type of editing.
- Select No changes (Read only) from the dropdown.
- Click “Yes, Start Protection” and set a password.
Extra Tips for Successful Protection
When you learn how to password protect a Word document, it’s also important to follow these extra safety tips:
- Test Protection: Close and open the file again to test the password.
- Avoid sharing passwords via text or email: Use secure apps like Signal or password managers instead.
- Update your passwords yearly: Especially for sensitive documents.
What If You Forget Your Password?
If you forget the password, recovering the file is hard. Here’s what you can try:
- Use any password hints you created during setup.
- Try older passwords you have used before.
- Consider professional recovery tools like PassFab for Word (paid option—use with caution).
Benefits of Using Password Protection in Word

The main benefit of learning how to password protect a Word document is keeping your information private. With password encryption, even if someone gets access to your file, they won’t be able to read or edit it without your permission. Microsoft Word uses AES-128 encryption, which is highly secure and could take years to break using brute-force attacks.
Common Questions About Password Protecting Word Documents
Q1: Does this method work for all versions of Word?
Yes. The steps are similar in Word 2010, 2013, 2016, 2019, 2021, and Microsoft 365.
Q2: Can I do this on a mobile device?
Yes. On Android or iOS, open your document, tap the menu (•••), choose Protect, then Encrypt, and set a password.
Q3: Can I set two passwords?
One password opens the file; another limits editing.
Q4: Can I remove a password later?
Yes. Repeat the steps in how to password protect a Word document, delete the password field, and save your file.
Why You Should Start Protecting Your Word Files Today
Once you know how to password protect a Word document, you can safeguard everything from personal journals to company contracts. This simple habit can prevent identity theft, data leaks, and unwanted changes to your files.
In just five steps, you can lock your file and have peace of mind knowing only trusted people can open or edit it.
Final Words
Learning how to password protect a Word document takes less than a minute, but the protection lasts for years. Whether you’re working on confidential business files or private personal notes, this security step is worth it. Start protecting your important documents today—you’ll thank yourself later.

